
Okay, so let me just start out with this disclaimer as I know there will be some who will get their panties in a bunch. THESE ARE NOT COPYRIGHTED! Phew, okay...got that out of my system.
The designs (which are original artwork) in the books are copyrighted and therefore protected. However, nobody can copyright, or patent, an existing shape such as a circle, triangle, even folder shapes. Therefore, I'm not breaking any laws here.
There is a button to the left that says SVG Templates. That will link you to where the files are and you can download them from there
Because I want these to be Cricut/SVG ready, I have removed all writing, including instructions. Therefore if you want the instructions - BUY THE BOOK :)
I have also removed the score lines on the envelopes.
And lastly, if you open a file that's titled with 3x3, you should know that it isn't necessarily going to automatically open as 3x3 in size. You will need to adjust the size in the program itself. I've kept these in the title so you know what template it is. Simply adjust the width and height of the shape within the SCAL program.
For those shapes that DO NOT have the sizes in the title, but you want to cut it the right size for the pattern, the recipes in the books have the sizes listed.
Well, I think that's everything! Please be patient with me as I work on these templates and get them listed.
Thanks for visiting and have a great day!

FREE Gift!!

Spring Is In The Air
About Me

- Tiffany
- Harmony, Florida, United States
- A homeschooling mom to two, I love to keep my hands busy. So whether it's paper piecing with my Cricut, crochet hooks and yarn, paper, ink or sock-monkeys, I love it all!
Thanks for visiting!
My Inspiration
Part of the Hive!


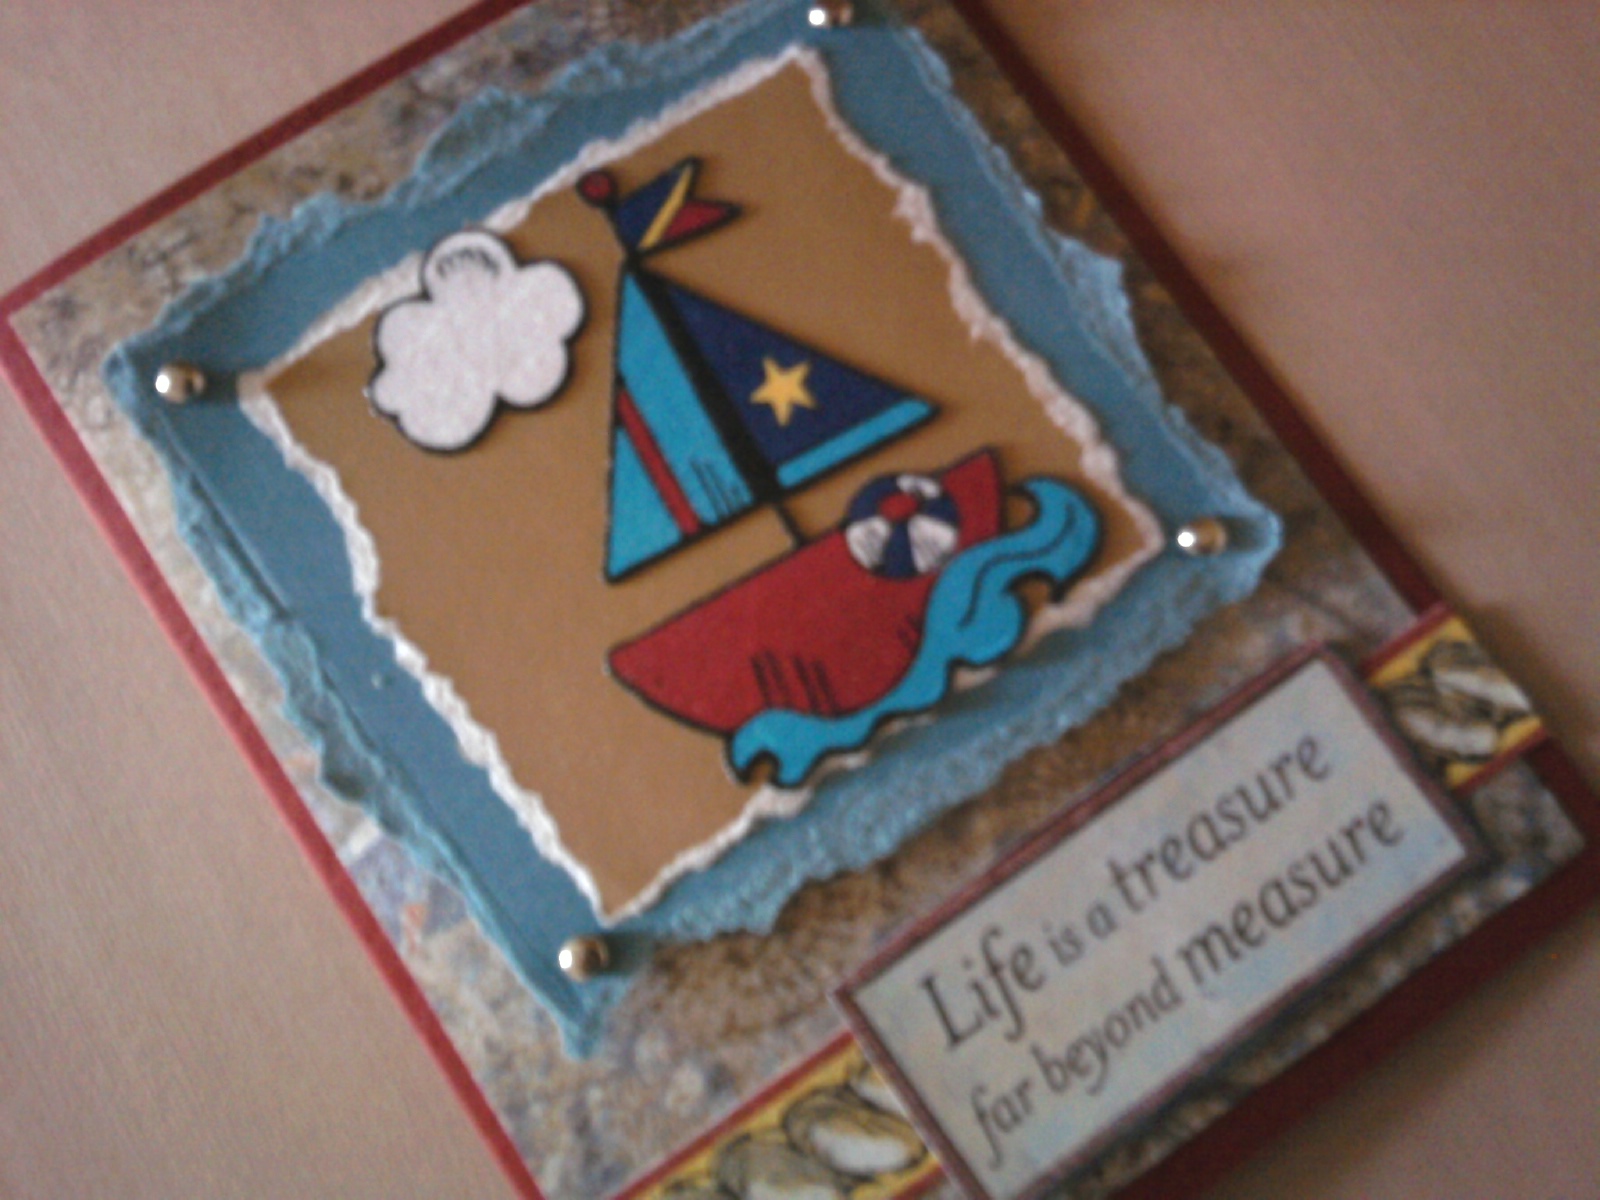
The Heart2Heart challenge this week was an "out of shape" card. I haven't done one of these challenges for a while. But I couldn't pass this one up, especially after receiving this free SVG file from SVG Cuts. The challenge was to use CTMH products and make a card any shape except a rectangle. Lots of fun!!
Hope you like it, and please leave a comment. Otherwise I have know idea that you stopped by.
Thanks!


Am I aging myself here? Remember these? If you open it one way the gift card or money is on one side. Close it and open it again and it "magically" appears on the other side. I showed this to my kids and they were wow'ed by it. I guess they've never seen them before. Are they a thing of the past? Well, as they say - everything old is new again, right?
These were super easy and fun to make. I hope my pictorial makes sense.
You'll need -
2 pieces of cardstock 3 1/4" by 5 1/2"
4 pieces of patterned paper 3 1/4" by 5 1/2"
3 pieces of ribbon cut 4" each
Lay down both pieces of cardstock side by side. In the picture I have them marked A and B. (You'll want to cover your pieces with patterned paper before laying down the ribbon)
Lay down two pieces of the ribbon on side B. Tape down (I used scotch tape) right side of the ribbon to the back of B cardstock. Next, tape down left side of the ribbon to the back of side A cardstock.
Make sense so far?
Now you'll do the same with the other ribbon. Lay it across side A cardstock. Tape the left side of the ribbon to the back of cardstock A. Next, tape the right side of the ribbon to the back of cardstock B.
Still with me?
Now flip it over and cover with the other patterned paper. Decorate the front however you wish and WaaLaa! A magic wallet card!!
As always, thanks for visiting and leave a note so I know you were here!


First of all, let me just say that I have a whole new respect for people who do the tutorial videos. If I had continued in my efforts, this card would not be on here till next year sometime. So I hope my pictures and explanations will make sense.
The small purple paper flowers and leaves were cut out with my Cricut and SCAL files. I then inked the edges of the flowers with Plum Purple and the edges of the leaves with Garden Green. I used a bone folder to create the "veins" in the leaves. LOVE how they turned out and will definitely be doing that a lot more.
So on to the organdy flowers. These were done with the CTMH organdy ribbon.
I've used the red thread for contrast but of course you are going to want to use the same color as your ribbon.
I use about 18" of ribbon for these flowers.
1) Bend over a small amount of ribbon to make a tail.
2) Start a simple gathering stitch
3) continue the gathering stitch all the way across, gathering it as you go
4) When you get to the end, bend over another small amount of ribbon for an end tail
5) Now slowly push ribbon up the thread to make your flower, pinching the two tails together
6) Put a couple of stitches through the two tails to hold it together and you've got a flower!
I use hot glue to attach these to my card.
As always thanks for coming by for a visit and please leave a comment so I know you stopped by. I will be doing a blog give away very soon for all my followers, so if you like my blog, follow along with me!
Thanks again!!
.jpg)
.jpg)

.jpg)
.jpg)
.jpg)
.jpg)
.jpg)
.jpg)
.jpg)

.jpg)
.jpg)

........but I still seem to have plenty left over! It amazes me how far one CTMH paper pack will go.
Here are a couple more layouts I've been working on. It seems like now that it's getting closer and closer to me returning to work, my creativity came back into full gear. Where was it when I had all of this time off? Oh well, I'll enjoy it while I can.
The details: The Chip and Dale came from an SVG file I got from Mardenz (free I might add. Got to love free stuff). The insanely cute kitties are from an SVG file I bought from MyScrapChick. The eyelashes were a challenge, but I love how they turned out. The M&M was some leftover stuff I found going through my stash. I originally planned on it being a card, but it kept evolving until it turned into a layout with a mini-album attached to it.
As always, please leave a comment so I know you were here. I will be doing some blog candy soon, so become my follower and stayed tuned. Thanks for visiting!


Thank you to everyone who left such nice comments. I am doing much better. All the doctor appointments are over and I may even be headed back to work again soon. I appreciate all of the sincere thoughts. It meant a lot.
It's been a while but I did it, made not only several cards but actually did a scrapbook page too! It felt good to be creative again. Still haven't organized things very well, but it's a start. I'll be listing these in my store soon at ArtFire.com. Be sure to visit, the link is at the top left. Thanks for visiting and please leave a comment so I know you were here.
So I started this blog with the idea of having an outlet for creativity. But the last couple of months have taken quite a turn and I haven't been doing anything "crafty" to share.
At the end of March I was in a car accident while on my way to work. A semi-truck didn't stop in time and rear-ended a girl behind me who then hit me and pushed me into another car. At first glance of my car it didn't seem very serious. It was a semi after all and could have been much worse. But here I am, 3 months later, still going to therapy twice a week, still not back at work, still no resolution with the at-fault party over property damage.
All of this took place just as we were getting ready to move. The move was a good thing. We were hating where we were living and LOVE the new home. It actually feels like a home. But with my limited range of motion, I have not been able to organize a creative space for myself, and I haven't been very motivated to get it done.
As if all this wasn't enough, my husband and I are coming to terms with a new diagnosis for my son. Because we feel very deeply about respecting his right regarding disclosure ("Nothing about me without me"), I'm not going into specifics here. But I will say it has changed our way of thinking, and our way of being, forever.
This morning was a stressful morning. You know those days when things just feel like it all comes crashing down on you? Yep, I had one of those days. And after my sobbing was over, I got to thinking, "Where's my outlet? Where can I go to vent? Where can I go when another challenge has been thrown at us? How do I yell out to the world that the challenge was not only met, but was conquered?" I need a pressure relief valve.
And it brought me back to here. Whether anyone reads this or not, whether anyone cares or not, sometimes writing it all down just makes you feel better (I learned that from my long-time friend Kerry for whom I will always be grateful).
When I came up with the name for my blog, it was just for fun. Nothing else really rhymes with Tiffany. But now I think I've actually had an epiphany. This is what blogging is all about. It's not just about being creative, or how many followers you can get. It's not about blog give-a-ways (although they're really fun). It's more about sharing, whether it's ideas, news or feelings. It's an outlet and one I feel in desperate need of at the moment.
So I hope you'll continue the journey with me. If you've made it this far in my novel, Thank You! And if you have a vent of your own, I'd love to hear that too! See, I'm already feeling better.....
Subscribe to:
Posts (Atom)